- Turning on Troubleshooting Mode
- Troubleshooting with Site Kit and a default theme
- Continue troubleshooting as needed
- Disabling Troubleshooting Mode
One of the most common causes of issues with WordPress plugins is conflicts with other plugins or with your site’s theme. One way to identify a possible conflict is to deactivate your plugins and switch to a default WordPress theme. However, temporarily deactivating plugins or switching themes may not be possible, may be time-consuming, or may impact how your site displays to users.
The Troubleshooting plugin allows you to do these troubleshooting steps safely, without affecting the front-end of your site and what your site visitors see.
Turning on Troubleshooting Mode
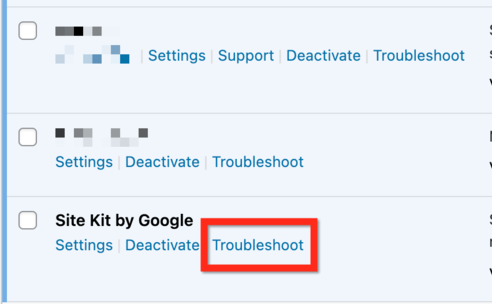
- In the WordPress admin, go to Plugins > Installed Plugins
- You’ll now see a Troubleshoot option for each of your plugins. Select Troubleshoot next to Site Kit by Google.
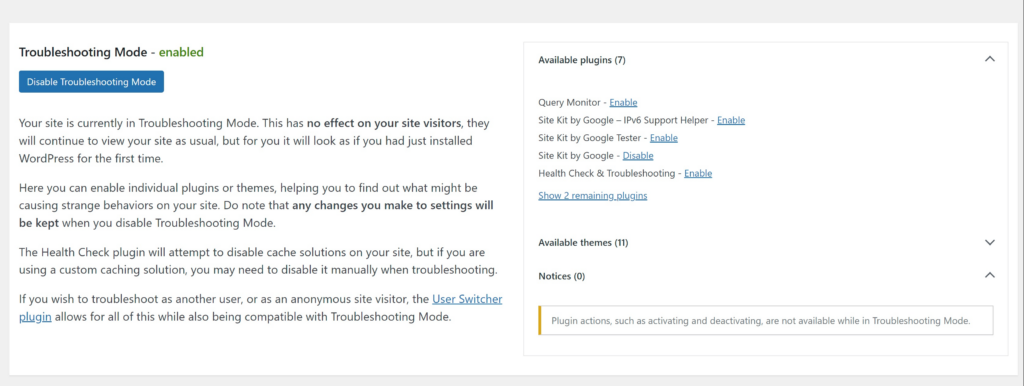
Activating Troubleshooting mode - A panel appears at the top of the Plugins page showing that you are in Troubleshooting Mode. As described on the screen, deactivating plugins or themes while in Troubleshooting Mode has no effect on your site’s visitors. They will see what they normally do.


Troubleshooting with Site Kit and a default theme
Now that you’re in Troubleshooting Mode with Site Kit enabled, check to see if the problem that you’ve been experiencing is still occurring. For example, if you were experiencing errors while setting up Site Kit, try going to Site Kit > Dashboard and going through the setup process again.
You can always return to the Troubleshooting Mode panel by clicking Troubleshooting Mode in the admin toolbar.
If the issue is still occurring with only Site Kit activated, try changing to a default theme by selecting Available themes in the Troubleshooting Mode panel and clicking Switch to this theme next to one of the WordPress default themes named after a year (Twenty Twenty Four, Twenty Twenty Five, etc.)
After switching to a default theme, check again to see if the problem that you’ve been experiencing with Site Kit is still occurring
If your problem is still occurring with only Site Kit and/or the default theme turned on, the issue is likely not theme- or plugin-related. Feel free to create a topic on our support forum for further assistance.
If your problem is not occurring with only Site Kit and/or the default theme turned on, it means that one of your plugins or your theme could be causing the issue. Continue troubleshooting by following the steps below.
Continue troubleshooting as needed
- If the issue that you’ve been experiencing with Site Kit doesn’t occur with only Site Kit enabled, turn your other plugins back on, one at a time
- To enable a plugin in Troubleshooting Mode, click Available plugins then Enable next to the plugin name. Make sure that Site Kit by Google is still enabled.
- After enabling a plugin, check to see if your Site Kit issue is still occurring. If the issue begins to occur again after a plugin is turned on, that plugin could be causing the issue with Site Kit. You can temporarily disable it and reach out to that plugin’s support for further assistance.
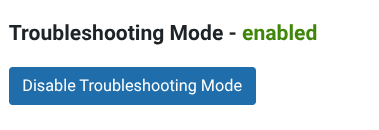
Disabling Troubleshooting Mode
When you’re done with troubleshooting, you can turn off Troubleshooting Mode by clicking the Disable Troubleshooting Mode button.