Site Kit allows you to easily connect with Google Ads and place your Ads Conversion ID on your website. More information on Google Ads can be found here.

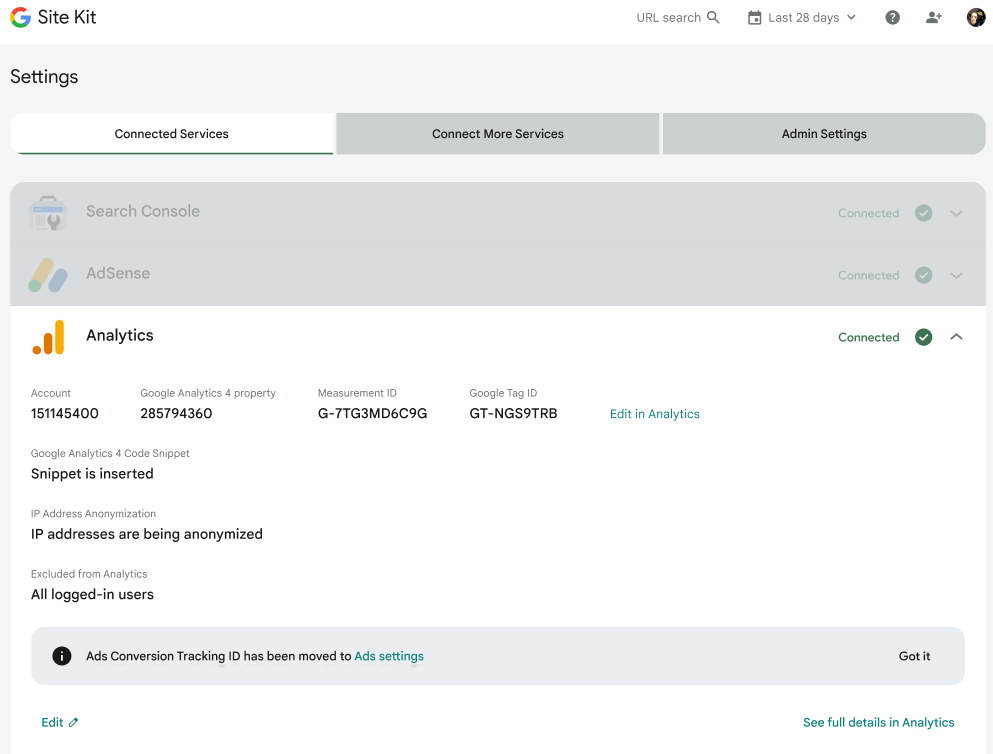
If you previously had a Conversion Tracking ID defined in Analytics settings, you will be notified that this has been moved to the Ads module settings.
Setup
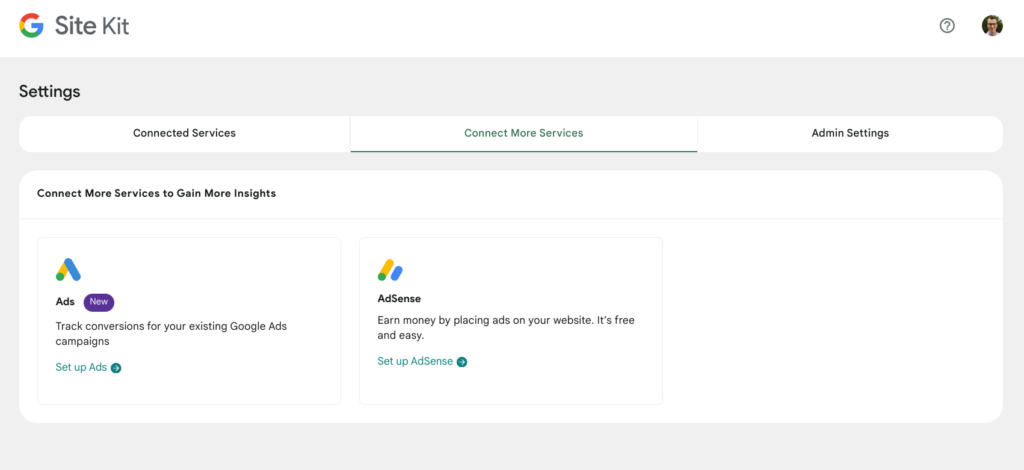
To set up Ads for your site, go to Site Kit > Settings > Connect More Services > Set up Ads.

Enter your Conversion Tracking ID. If you don’t enter a valid ID, you won’t be able to proceed with the setup.

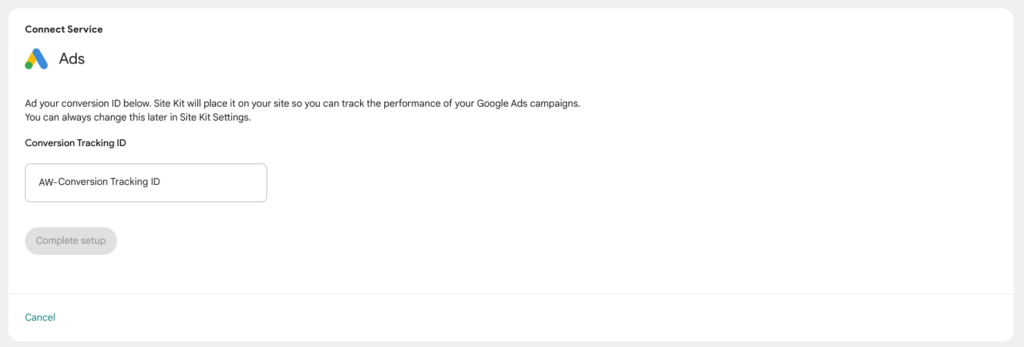
Once you have entered your Conversion Tracking ID, click on the Complete setup button.


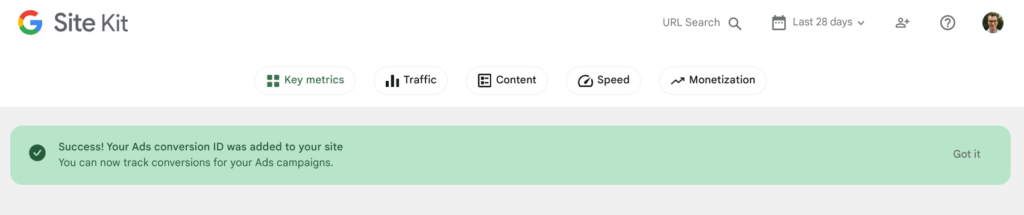
After completing the setup, you will be taken to the dashboard where you will see a success banner.

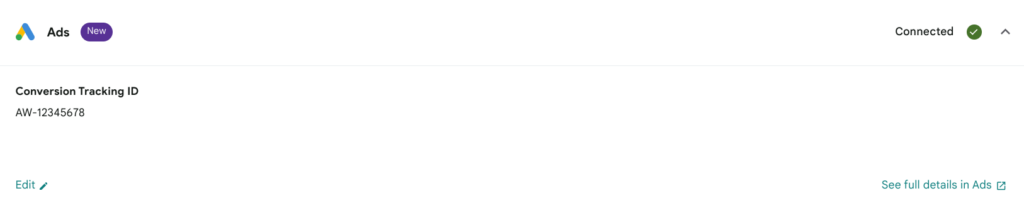
You can view and edit your Conversion Tracking ID from Site Kit > Settings > Connected Services > Ads.


Settings
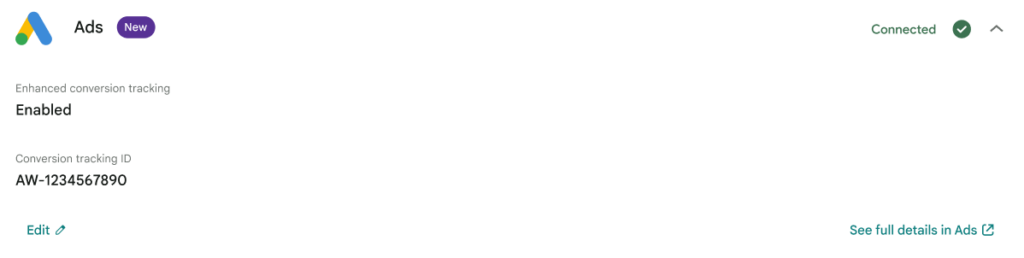
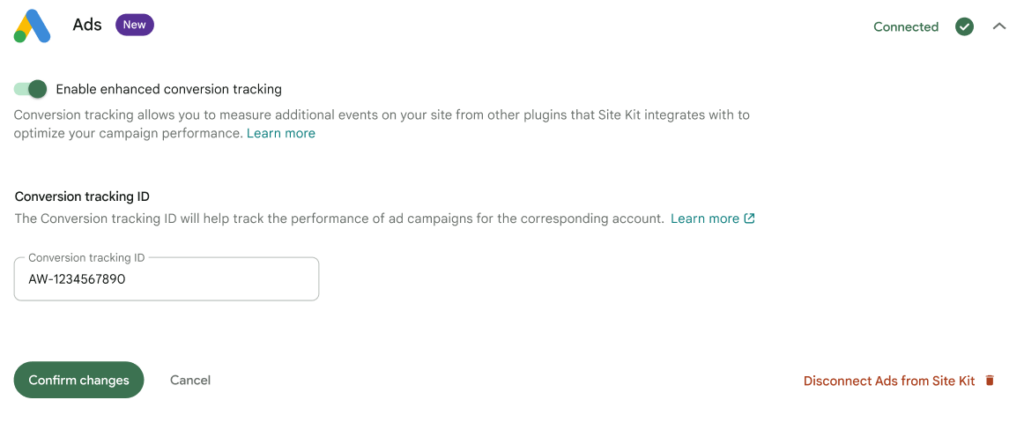
Enhanced conversion tracking: You can enable/disable enhanced conversion tracking from the Ads settings. Note that if you enable/disable the toggle here, you will also be doing this for the same setting in your Analytics module. More information on enhanced conversion tracking can be found here.
Conversion tracking ID: You can view and edit your Conversion Tracking ID from Site Kit > Settings > Connected


Disconnecting Ads
To disconnect the Ads module, go to Site Kit > Settings > Connected Services > Ads > Edit and select Disconnect Ads from Site Kit. When choosing to disconnect Ads, you will be presented with the following message.

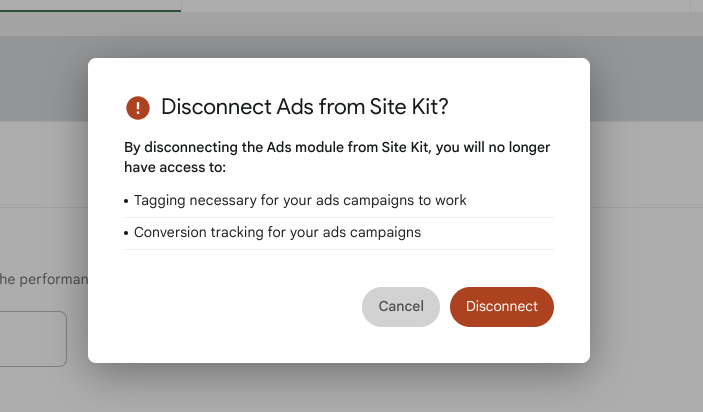
The message explains that disconnecting the Ads module for your site will mean that you no longer have access to the tagging necessary for your Ads campaigns to work and there will be no conversion tracking for your Ads campaigns.
How to locate your Conversion tracking ID
You can find your Conversion tracking ID by following the steps below:
- Sign in to your Google Ads account.
- In your Google Ads account, hover the Tools menu and click on the Data manager option.
- From this screen, click on the Manage option under the Google tag section.
- Your Ads Conversion ID will be displayed at the top of the modal sidebar that appears. It will also be displayed under the Google tag section.


